
Introduction
French nail art has captured the hearts of nail enthusiasts across the globe. With its chic, timeless elegance, this style has evolved over the years, becoming a staple in nail salons and home nail art kits alike. As spring blossoms, it brings a wave of fresh inspiration that encourages creativity and personal expression in our nail designs. The vibrant colors, blooming florals, and sunny vibes of spring make it the perfect season to experiment with unique nail art that reflects your personal style.
DIY projects have gained immense popularity, allowing individuals to infuse their personalities into their creations. This article will guide you through the exciting world of spring-inspired French nail art, equipping you with the knowledge to design your own stunning looks. From choosing the perfect color palette to mastering various techniques, we’ll explore how you can transform your nails into a beautiful canvas this season.
“Creating a cozy reading nook is all about maximizing comfort in a small space. It’s about intentional design that serves both function and feeling.”
– Interior Design Magazine
The Basics of French Nail Art
French nail art, often recognized by its clean and polished appearance, originated in the 1970s. The classic look features a nude base with white tips, embodying a sophisticated yet understated aesthetic. Over time, this style has evolved, with countless variations emerging to suit different tastes and occasions. Learning the basics of French nail art is essential for any aspiring nail artist, whether you’re a complete novice or looking to refine your skills.
To get started with your DIY French nails, you’ll need a few essential tools and materials. Here’s a quick list:
| Tool/Material | Purpose | Notes |
|---|---|---|
| Nail polish (base, color, top coat) | For the main design | Choose high-quality brands for best results |
| Nail files and buffers | To shape and smooth nails | Use a gentle buffer to avoid damage |
| Striping tape or nail tape | To create clean line designs | Great for geometric patterns |
| Nail art brushes | For intricate designs | Invest in a set with different sizes |
Understanding common techniques for applying French nails is also crucial. The traditional method involves painting the tips of your nails white, but don’t hesitate to explore variations by incorporating colors, glitter, or patterns. Before you begin, ensure your nails are healthy and well-prepared. Clean and file your nails, remove any old polish, and apply a base coat to protect your natural nails while enhancing polish adherence.
Choosing Your Spring Color Palette
As spring arrives, it brings with it a refreshing array of colors that can inspire your nail art. This season is all about pastels, florals, and vibrant hues that mirror the beauty of blooming gardens. Think soft pinks, mint greens, sunny yellows, and delicate lavenders. When selecting your color palette, consider how these shades can complement each other to create an eye-catching design.
To achieve a harmonious look, try using a color wheel as a guide. Colors that are adjacent to each other on the wheel typically blend well, while those opposite each other create a striking contrast. A few gorgeous spring color combinations for your French nails include:
| Base Color | Tip Color | Accent Color |
|---|---|---|
| Soft Pink | White | Gold Glitter |
| Lavender | Pale Yellow | Floral Decals |
| Mint Green | Coral | Silver Glitter |
| Baby Blue | Peach | White Dots |
When choosing nail polish brands, look for those that offer a high-quality finish and durability. Brands like OPI, Essie, and Zoya are known for their vibrant colors and long-lasting formulas. Don’t hesitate to experiment with different shades to find the ones that resonate with your personal style and the spirit of spring.
Spring-Inspired French Nail Designs
Now that you have a color palette in mind, let’s dive into some exciting spring-inspired designs for your French nails. These ideas will help you add a unique twist to the classic French manicure, allowing your creativity to shine.
One of the simplest yet most effective designs is the classic pastel French tips with a twist. Instead of traditional white tips, opt for soft pastel colors that embody the essence of spring. For instance, a mint green base with pale pink tips can create a fresh and lively look.
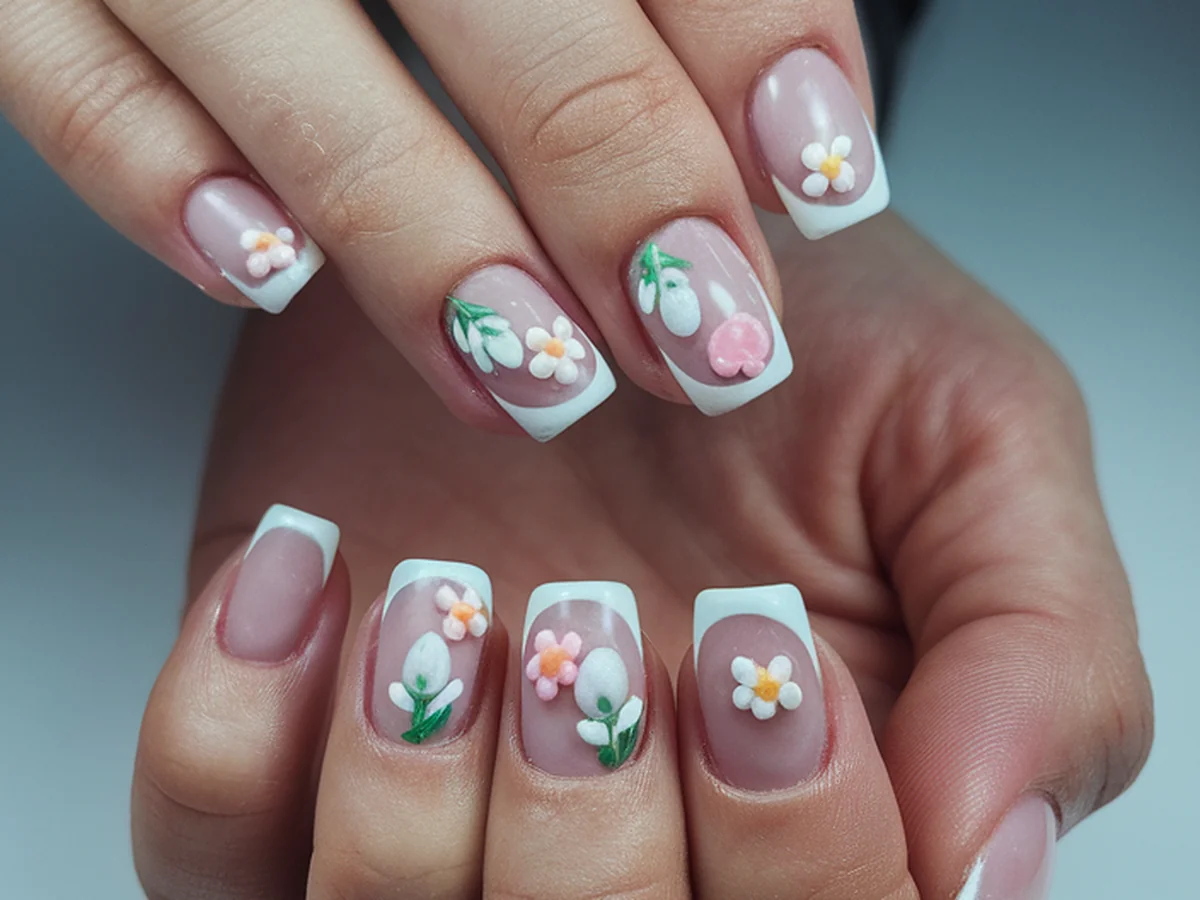
Floral accents are another fantastic way to breathe life into your French nails. Consider adding small flower designs to the tips of your nails. Using a fine nail art brush, you can create delicate daisies or tiny roses that perfectly capture the beauty of spring blooms.
Ombre effects are also trending this season. By blending two or more colors together, you can achieve a stunning gradient look. For instance, you could start with a pale peach base and gradually blend into a sunny yellow at the tips, evoking the feeling of a warm spring day.
Lastly, don’t forget about glittery finishes! Incorporating sparkles into your design can add a festive vibe. You might choose to sprinkle fine glitter on the tips or create an all-over glitter effect for a dazzling statement.
Creative Techniques for Unique Designs
Once you’ve chosen your colors and designs, you can elevate your nail art with some creative techniques. These methods will allow you to create intricate and unique designs that stand out.
Stamping is a popular technique that involves using stamping plates to transfer designs onto your nails. With a variety of patterns available, this method makes it easy to achieve detailed looks without the need for extensive freehand skill. Simply apply a base coat, stamp your desired design, and seal with a top coat.
Nail art brushes are essential for freehand designs. With different brush sizes, you can create everything from thin lines to bold strokes. Practice makes perfect, so don’t hesitate to experiment with different styles.
Dotting tools are another versatile option for creating patterns. These tools allow you to make dots and shapes easily, perfect for adding fun accents to your French tips. You can create polka dots, flowers, or even tiny hearts to enhance your design.
Using tape can help you achieve clean lines and precise geometric patterns. By applying tape to your nails before painting, you can create sharp edges and interesting shapes. Once the polish is dry, simply peel away the tape for a polished look.
Step-by-Step DIY French Nail Art Tutorial
Now that you’re equipped with the knowledge of techniques and designs, let’s walk through a step-by-step DIY tutorial for creating your own spring-inspired French nail art.
1. Preparing your nails: Start by cleaning your nails thoroughly, removing any old polish. File and shape your nails to your desired length and smooth the surface with a buffer.
2. Applying the base coat: Once your nails are clean and shaped, apply a clear base coat. This step is crucial as it protects your nails from staining and helps the polish adhere better.
3. Choosing the right technique for tips: Depending on your design, you can use striping tape to create a straight line for your French tips, or freehand it with a brush. If you’re going for a traditional French look, keep the tip about 1/4 inch wide.
4. Drying times and avoiding smudges: Allow each layer of polish to dry completely before applying the next. This is vital to avoid smudging your hard work. Consider using a quick-dry top coat for faster results.
5. Finishing touches: Once your design is complete and dry, apply a top coat to seal your nail art and give it a glossy finish. This also extends the longevity of your design. Allow your nails to dry fully before using your hands for any tasks.
Maintenance and Longevity of Your Nail Art
After all the effort you’ve put into your spring-inspired nail art, maintaining its beauty is essential. Here are some tips to keep your nails looking fresh and intact:
To avoid chipping and wear over time, consider applying a top coat every few days. This will not only enhance the shine but also provide an extra layer of protection. Be mindful when engaging in activities that may chip your nails, such as typing or washing dishes, and wear gloves when necessary.
For touch-ups, keep a small bottle of the nail polish you used for your design handy. If you notice any chips or wear, you can easily apply a little polish and top coat to help your nails look as good as new.
Don’t forget to care for your nails and cuticles. Regularly moisturizing your hands and nails can prevent dryness and breakage, keeping your nails healthy and strong. Use cuticle oil or a nourishing hand cream to maintain hydration.
Lastly, when it’s time to remove your nail art, do so gently. Use a quality nail polish remover and avoid peeling the polish off, as this can damage your natural nails.
Inspiration and Ideas from the Community
The nail art community is rich with inspiration, making it easier than ever to find new ideas and techniques. Social media platforms like Instagram and Pinterest are filled with talented influencers and nail artists showcasing their creations. You can discover popular trends by searching hashtags such as #NailArt, #SpringNails, or #FrenchManicure.
Don’t hesitate to share your designs with others! Posting your creations on social media not only allows you to receive feedback but also connects you with like-minded individuals who share your passion for nail art. Join nail art communities and explore tutorials to further enhance your skills.
Creating a personal nail art mood board can also be an excellent way to gather inspiration for future designs. Collect images, colors, and patterns that resonate with you, and refer to them when you’re ready to experiment with new ideas.
Conclusion
Embarking on the journey of DIY French nail art can be both joyful and creative, allowing you to express your unique style. This spring, take the opportunity to experiment with colors, patterns, and techniques that resonate with you. Don’t be afraid to step out of your comfort zone; the beauty of nail art lies in its ability to reflect your personality.
As you dive into your nail art projects, remember that the process is just as rewarding as the final result. Share your experiences and the stunning designs you create with friends, family, and the nail art community. Embrace your creativity, and let your nails tell your story through the vibrant colors and intricate designs that celebrate the spirit of spring.
Frequently Asked Questions
What is a French manicure?
A French manicure is a nail design characterized by a nude or light pink base with white tips. It is known for its clean, elegant look and has been a popular choice for many years. The design can be customized with various colors and patterns to reflect personal style.
Can I create French tips without professional help?
Absolutely! DIY French tips are entirely achievable at home with the right tools and a bit of practice. By following tutorials and using techniques like striping tape or a nail art brush, you can create beautiful French manicures on your own.
How do I remove nail art without damaging my nails?
To remove nail art safely, use a quality nail polish remover. Soak a cotton ball in remover and place it on your nail, allowing it to sit for a few moments to dissolve the polish. Gently wipe away the polish without peeling it off, as this can damage the nail.
What should I do if my nail polish chips?
If your nail polish chips, you can perform a quick touch-up by applying the same color over the chipped area and sealing it with a top coat. For extensive wear, consider removing the polish and starting fresh with a new design.
How often should I moisturize my nails and cuticles?
It’s best to moisturize your nails and cuticles daily to keep them healthy and hydrated. Using cuticle oil or a nourishing hand cream can prevent dryness and cracking, promoting overall nail health.